Welcome to the New Home Sewing Machine Manual‚ your comprehensive guide to mastering sewing skills and unlocking creative possibilities. Designed for both beginners and experienced sewists‚ this manual provides detailed instructions‚ troubleshooting tips‚ and maintenance advice to ensure optimal performance. With clear‚ user-friendly content‚ it helps you understand your machine’s features‚ threading processes‚ and advanced techniques. Discover how to enhance your sewing experience with proper care and innovative stitching methods. Let this manual be your trusted companion in crafting beautiful‚ professional-grade projects.
Overview of the Manual’s Importance
This manual is a cornerstone for mastering your New Home sewing machine‚ offering essential guidance for setup‚ operation‚ and maintenance. It provides clear instructions for threading‚ bobbin management‚ and thread tension adjustment‚ ensuring smooth sewing experiences. Additionally‚ it covers troubleshooting common issues and advanced techniques‚ making it a vital resource for sewists of all skill levels. By following this guide‚ you’ll unlock your machine’s full potential‚ enhance your sewing skills‚ and create professional-quality projects with confidence.
Key Features of the New Home Sewing Machine
The New Home sewing machine boasts a range of innovative features designed to enhance your sewing experience. It includes a manual zigzag function‚ allowing for creative stitching‚ and a classic vertical shuttle system that simplifies operation. With various stitch options and adjustable thread tension‚ it offers versatility for diverse fabrics; The machine is lightweight‚ portable‚ and user-friendly‚ making it ideal for both home use and professional projects. Its durable construction and easy-to-follow manual ensure seamless performance and longevity‚ catering to sewists of all skill levels.
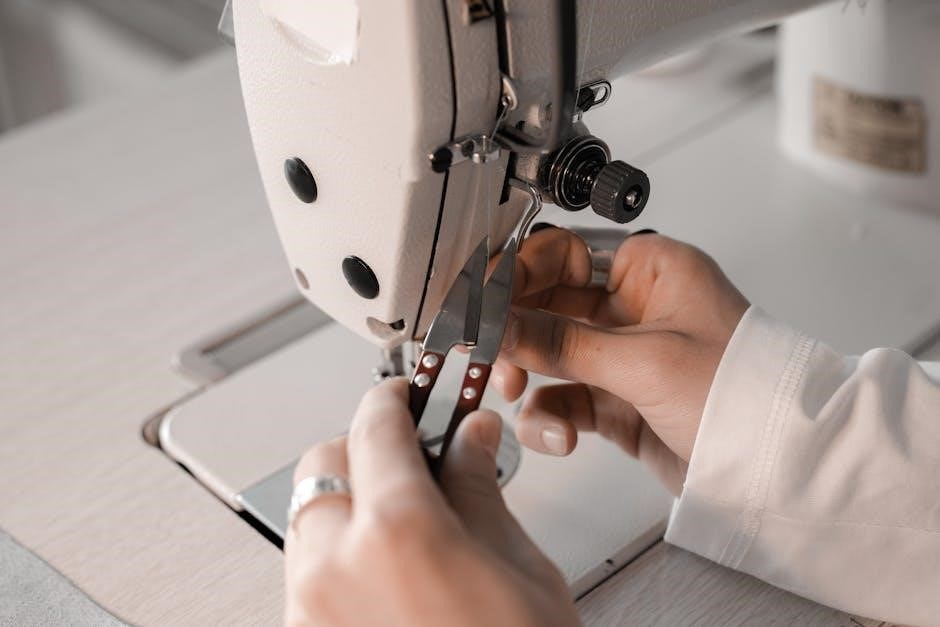
Understanding the Sewing Machine Parts and Functions
The machine includes essential components like the needle‚ bobbin‚ shuttle‚ tension discs‚ and presser foot‚ each serving specific roles to ensure smooth stitching and fabric control.
Identifying the Basic Components
Understanding your New Home sewing machine begins with identifying its basic components. The power switch‚ spool pins‚ and take-up lever are essential for thread control. The stitch length and width dials customize your stitches‚ while the presser foot and needle work together to create perfect seams. The bobbin and shuttle system are crucial for forming stitches‚ and the tension discs regulate thread tightness. Familiarizing yourself with these parts ensures proper operation and helps you troubleshoot issues efficiently. Each component plays a vital role in achieving professional-grade results for your sewing projects.
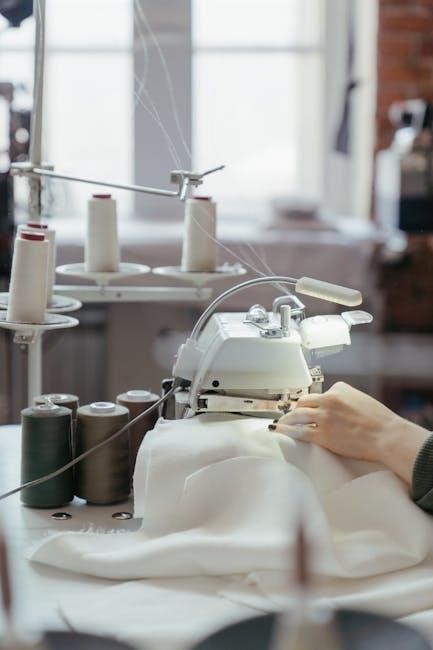
Understanding the Bobbin and Shuttle System
The bobbin and shuttle system are vital for creating stitches. The bobbin holds the bottom thread‚ which the shuttle retrieves to form loops. Properly winding and inserting the bobbin ensures smooth stitching. The shuttle’s movement synchronizes with the needle‚ creating a lockstitch. Regular cleaning of the bobbin area and correct thread tension prevent tangles. Using the right bobbin size and type is essential for optimal performance. This system is the heart of your machine‚ enabling precise stitch formation for professional results in every project.
Thread Tension and Its Role in Sewing
Thread tension is critical for achieving consistent stitches. Proper tension ensures the thread lies smoothly‚ preventing puckering or loose stitching. The New Home Sewing Machine Manual guides adjusting upper and bobbin tension for balanced sewing. Incorrect tension can cause fabric distortion or thread breakage. Regularly check and adjust tension based on fabric type and thickness. This ensures seamless stitching and professional results. Proper tension maintenance is key to extending machine life and ensuring optimal performance in every project.
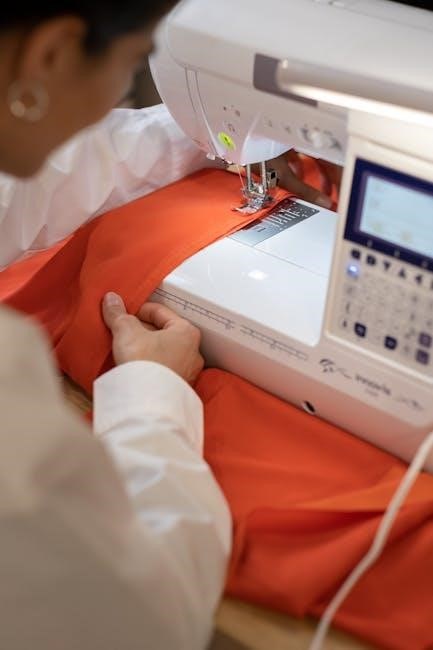
Threading and Setting Up the Sewing Machine
Threading and setting up your New Home Sewing Machine ensures smooth operation. Follow the manual’s step-by-step guide to thread correctly‚ wind bobbins‚ and adjust tension for optimal stitching.
Step-by-Step Guide to Threading the Machine
Threading your New Home Sewing Machine correctly is essential for smooth stitching. Begin by turning the machine off and locating the spool pin. Place the thread on the pin‚ then guide it through the tension discs. Follow the manual’s path‚ looping the thread around the take-up lever. Insert the thread into the needle’s eye‚ ensuring no twists. Once threaded‚ gently pull the thread to set the tension. This process ensures proper thread flow and prevents issues during sewing.
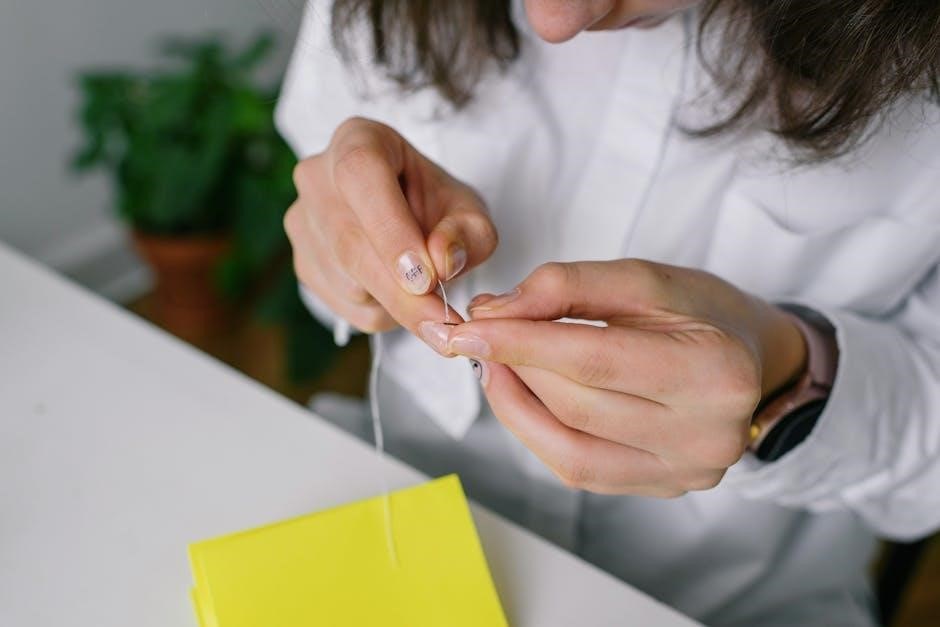
Winding and Inserting the Bobbin Correctly
Properly winding and inserting the bobbin ensures smooth stitching. Begin by cutting a small piece of fabric to use as a leader. Place the bobbin on the winder and secure it. Thread the machine as instructed‚ then wind the bobbin evenly. Once full‚ cut the thread and insert the bobbin into the bobbin case. Align the notch on the bobbin with the case’s guide. Gently pull the thread to seat the bobbin correctly. Close the bobbin case and ensure it clicks into place for proper operation.
Adjusting Thread Tension for Optimal Sewing
Proper thread tension is crucial for achieving even stitching. Begin by threading the machine and checking the bobbin tension. Tighten or loosen the bobbin case screws to balance the thread. Sew a test line on scrap fabric to assess stitch consistency. If top stitches are too loose‚ tighten the top tension dial; if too tight‚ loosen it. Ensure the bobbin thread isn’t visible on the fabric’s right side. Test adjustments iteratively and refer to the manual for specific guidance. Different fabrics may require tension changes‚ so adjust accordingly for optimal results.

Maintenance and Care of the Sewing Machine
Regular maintenance ensures your sewing machine runs smoothly. Clean the machine‚ oil moving parts‚ and store it properly. Follow manual guidelines for optimal performance and longevity.
Cleaning the Machine and Removing Lint
Regular cleaning is essential for maintaining your sewing machine’s performance. Turn off the machine and unplug it before cleaning. Use a soft brush to remove lint and debris from the bobbin area‚ tension discs‚ and stitch plate. Avoid using harsh chemicals or liquids‚ as they may damage the machine. Gently wipe exterior surfaces with a dry cloth. Proper cleaning prevents dust buildup‚ ensures smooth operation‚ and extends the machine’s lifespan. Refer to the manual for specific cleaning instructions tailored to your model.
Oiling the Machine for Smooth Operation
Regular oiling is crucial to maintain the smooth operation of your New Home sewing machine. Turn off and unplug the machine before oiling. Use a few drops of high-quality sewing machine oil‚ applying it to the designated oil holes as indicated in the manual. Gently rotate the handwheel to distribute the oil evenly. Avoid over-oiling‚ as it may attract dust and cause maintenance issues. Proper lubrication ensures silent running‚ prevents mechanical wear‚ and keeps your machine in optimal working condition. Always refer to the manual for specific oiling instructions.
Proper Storage to Maintain Machine Performance
Proper storage is essential to maintain your New Home sewing machine’s performance. Always keep it in a clean‚ dry place away from direct sunlight and moisture. Use a hardcover case or protective cloth to shield it from dust. Store the machine upright to prevent oil leakage. Ensure all accessories are secure and detached to avoid damage. Regularly check for dust buildup before storing. Following these steps ensures your machine remains in excellent condition‚ ready for your next sewing project.
Troubleshooting Common Issues
Identify and resolve issues like thread breakage‚ bobbin tension problems‚ or machine jamming. Regularly check thread tension‚ clean lint‚ and ensure proper oiling for smooth operation.
Identifying and Solving Thread Breakage
Thread breakage can occur due to improper threading‚ tension issues‚ or using low-quality thread. Check for tangles‚ ensure the spool is correctly placed‚ and adjust tension settings. If the thread frequently snaps‚ inspect the machine’s needle and hook for damage. Replace the needle if necessary. Use high-quality thread suitable for your fabric type. Regularly clean the machine to remove lint and debris that may cause friction. Ensure the bobbin is wound correctly and seated properly to prevent thread breakage during sewing.
Fixing Bobbin Tension Problems
Bobbin tension issues can disrupt stitching‚ causing loose or tight stitches. To address this‚ check the bobbin’s resistance by gently pulling the thread. Proper tension allows slight give without being too tight or slack. Adjust the screws on the bobbin case to modify tension‚ using a screwdriver for precise control. Clean the area to remove lint that might interfere. Ensure the bobbin is correctly seated. If issues persist‚ inspect for damage or wear‚ possibly requiring replacement. Regular maintenance can prevent future problems‚ ensuring smooth stitching in your sewing projects.

Preventing Errors and Ensuring Smooth Sewing
The key to smooth sewing lies in proper preparation and attention to detail. Always ensure thread tension is balanced‚ as incorrect settings can lead to uneven stitches or fabric puckering. Regularly clean the machine to remove lint buildup‚ which can interfere with its operation. Use the correct needle size and type for your fabric to prevent breakage or skipped stitches. Maintain consistent fabric tension while sewing and avoid pulling the fabric excessively. By following these practices‚ you can minimize errors and achieve professional-quality results with your New Home sewing machine.
Advanced Techniques and Tips
Explore advanced techniques to enhance your sewing projects. Master stitch appliqué‚ embroidery‚ and decorative stitching. Utilize specialized attachments for unique fabric effects and professional finishes.
Stitch Appliqué and Lace Elements
Stitch appliqué and lace elements add elegance to your projects. Use specialized attachments like the lace attachment or decorative stitching feet for intricate designs. Start by stabilizing fabric with interfacing or a stabilizing hoop. Thread choice is crucial—use metallic or embroidery threads for vibrant results. Adjust tension settings to prevent puckering or thread breakage. Practice stitching on scrap fabric before working on final pieces. Appliqué motifs can be pre-cut or traced‚ then sewn in place using zigzag or satin stitches. Combine lace elements by sewing along edges or layering for textured effects. These techniques are perfect for embellishing garments‚ home decor‚ or quilts. Mastering appliqué and lace stitching opens up endless creative possibilities for your sewing projects.
Embroidery and Decorative Stitching
Embroidery and decorative stitching bring personality to your sewing projects. Use specialized feet like the embroidery or darning foot for precise control. Stabilize fabric with hoops or stabilizers to prevent puckering. Choose threads that match your design‚ such as metallic or embroidery floss. Adjust stitch length and width settings for intricate patterns. Practice embroidery on scrap fabric to refine techniques. Decorative stitching adds flair to seams or hems‚ while pre-programmed patterns offer versatility. Experiment with floral motifs‚ alphabets‚ or geometric designs to create unique embellishments. These methods elevate your projects‚ making them truly special and professional-looking.
Using Attachments for Specialized Sewing
Enhance your sewing projects with specialized attachments designed for your New Home sewing machine; The zipper foot ensures precise stitching for zippers and heavy fabrics‚ while the buttonhole maker creates perfect buttonholes effortlessly. Use the blind hem foot for invisible hems on pants and curtains. Attachments like the walking foot or Teflon foot are ideal for quilting or sewing delicate materials. Always follow the manual for proper installation and adjustment. Experiment with different attachments to explore new techniques and expand your creative possibilities. Proper use ensures professional-quality results every time.

Resources for Further Learning
Explore online tutorials‚ community forums‚ and official New Home websites for in-depth guides. Discover recommended accessories and tools to enhance your sewing experience.
Online Tutorials and Video Guides
Enrich your sewing skills with online tutorials and video guides specifically designed for the New Home sewing machine. These resources offer step-by-step instructions
for various techniques‚ from basic threading to advanced stitching. Troubleshooting tips and creative projects are also covered‚ ensuring a comprehensive learning experience.
Videos provide visual demonstrations‚ making complex tasks easier to understand. Whether you’re a beginner or an experienced sewist‚ these guides will help you
master your machine and unlock new creative possibilities.
Community Forums and User Groups
Join vibrant community forums and user groups dedicated to New Home sewing machines. These platforms offer invaluable support‚ where experienced sewists share tips‚
solutions‚ and creative ideas. Discuss troubleshooting‚ learn new techniques‚ and gain insights from fellow enthusiasts. Many forums host Q&A sessions and feature
detailed discussions on specific models‚ ensuring you get tailored advice. Whether you’re resolving an issue or exploring advanced methods‚ these communities are a treasure trove
of knowledge and inspiration for sewists of all levels.
Recommended Accessories and Tools
Enhance your sewing experience with essential accessories designed for the New Home sewing machine. Invest in high-quality bobbins‚ needles‚ and presser feet to handle various fabrics and stitches. A lint brush and oil can are crucial for regular maintenance‚ ensuring smooth operation. Specialized attachments‚ like zipper or embroidery feet‚ expand your creative possibilities. For convenience‚ consider a sewing machine cover and extension table. Always purchase accessories from trusted retailers to guarantee compatibility and performance. These tools will help you achieve professional results and extend the life of your machine.
 manual step by step rainbow loom instructions printable
  small manual transmission
  four winns service manual pdf free
  davinci charlie 4-in-1 convertible crib manual
  dupont manual lockdown
  merlin home transmitter manual
  star ocean the second story r trophy guide
  2001 a space odyssey pdf
  as bill sees it today pdf